Showing posts with label Reclaimed Wood. Show all posts

Monday, October 23, 2017

Another Hobby

I've painted wooden signs before, but lately it's become more prevalent in my free time activities...


This was a set-up for a MOPS bonfire at our house. 


A housewarming gift for one of Dan's coworkers. 


Multiple signs - gifts and door prizes and for myself!


This one ended up as a door prize for my MOPS Christmas party.


A few more additions...


Preschool and Sunday School teacher gifts!


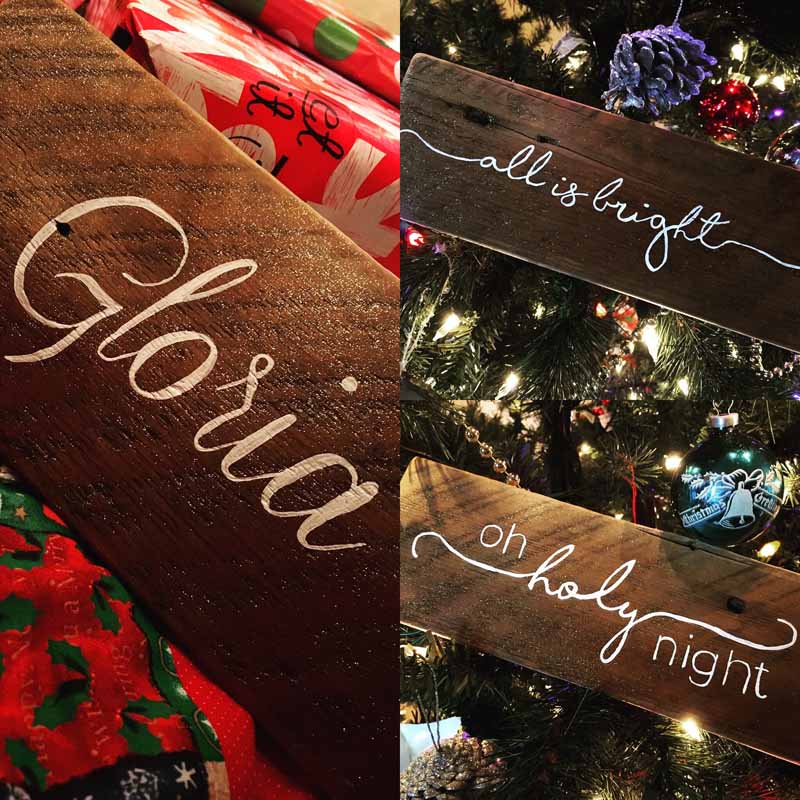
And a few more... I've already got plans for painting more this Christmas, but I don't think it will be as many! It's always a battle to decide what needs to be done and what I really want to be doing. Between sewing and painting, I have plenty of crafty plans to undertake!

PS: Thanks to my inlaws for taking down the white shed... the wood is perfect for my projects :D 

Monday, April 20, 2015

Welcome Gus-Gus {DIY Wall-Art}

Welcome Gus-Gus! Well, you're not Gus-Gus anymore... so...

Welcome James Thomas :)


He came three weeks early, but things are going well so far. He's a sleepy little thing during the day, but his nights are getting better. His latch is slowly getting better, too, so hopefully nursing continues to improve as well. 

I'll post more about him as the weeks and month go on, but as for now, here is the DIY Wall Art that I made for his nursery.


We have had this covered with a blanket for the last month or so... that way no one could see the name until he arrived!


Just a quick rundown of how we made this wall-hanging...

  • Dan joined two reclaimed wood boards with a brace and drilled a hole in the back where we can hang it on a nail (that's been pounded into a stud in the wall). 
  • I used my go-to charcoal transfer method to transfer the image of an elk silhouette (found after a quick internet search, enlarged in photoshop, and taped together after printing). 
    • This transfer method is a little more challenging on this type of wood. I was painting more by looking for the indentation made by the tracing step rather than the charcoal. I also had to eye-ball quite a few places where I couldn't see any indication of where I should be painting. 
    • I also learned that a paint marker doesn't work as well on this wood, so after finding the outline with the paint marker, I used craft paint and a small paintbrush instead. 


And, there it is! It looks a lot better out in the open than covered in a blanket!

PS: I'll post about his quilt soon :)

Thursday, April 16, 2015

A Pacific Northwest Baby Quilt

This baby quilt was also sent off a few weeks ago... after the birth of a little boy (gender was a surprise) to another of my college teammate/roommates. They live in the Pacific Northwest, so I thought it was the perfect time to cut into a plaid and stripes fat quarter bundle that I've had since 2012. I bought it at the Prickly Pear Quilting Shop in Helena, MT. It was a super cute little shop and I was happy to find a bundle of these plaids...


I had the border fabric on hand as well, so all I had to purchase was the backing (the binding was cut from the fat quarter bundle). Simple cross-hatching quilting was all this quilt needed. I loved how crinkly it was after I washed and dried it!!


In addition to the quilt, I also sent off this little wall plaque that I made. I used a scrap piece of wood from our reclaimed barnwood stash and painted an evergreen on it (after asking the mommy-to-be what would be a good, simple addition to their nursery). I braided some jute twine for hanging the plaque on the wall.

Monday, December 29, 2014

A Window Project

While my photography of this project is not as good as I would like it to be, I've decided to share the project anyways! 


I'll chat about the whole window process a little next, but since you can see it the best in this picture, I'll just talk about the saying here... I used my same go-to method of charcoal transfer before using a black paint marker. The lyrics are from one of my favorite hymns :)


Dan saved this window for me from a building they were tearing down on the farm. Isn't he thoughtful?! He even helped me by caulking the panes to the frame, as they were quite loose. 
(Look how little E used to be?!) At one time, we thought to paint it, but we decided to keep the rustic finish on it instead - one less step... yes, please!


I added burlap to the back and used upholstery nails to attach it to the back. Also, a few sawtooth hangers to help hang it up on the wall. Of course, I had to add the 8x10" photos prior to adding the burlap (the three pictures are from my photo collection... two are of Montana scenes while the sunrise is from my parents' lake cabin). 

The first way I tried to attach the pictures was to use double stick tape between the pictures and the burlap. This worked for awhile but they eventually started to sag. Then I bought some clear photo corners (from Walmart) to use to attach the photos to the glass. If you look close enough, you can see these, but at least they won't be sagging anytime soon!


Ignore the few totes/boxes that I still need to organize, but otherwise the photo window looks quite nice in our bedroom!

Tuesday, June 17, 2014

Sing to the Lord a new Song {DIY Wall-Art}

 For the longest time I thought I had to have a vinyl letter cutter in order to paint my own wall-art (because I certainly cannot free-hand it!). However, this post that I found through Pinterest showed me there there is a better (and easier!) way :) My crafty life has not been the same since!!


So, following the instructions from that post, I made this... :) 


 I can't wait until I have a piano to set it on!


Until then, here is the sign on the stack of wood where I originally found my board (thanks Tim!). 
I also thought it looked pretty good by my mother-in-law's yard decorations :)
Oh, and this butterfly did not mind me getting up close and personal to it's beautiful yellow wings! Yay Spring!


Sticking with the yellow theme, here's a gold finch at my parents' house. I had a lot of fun taking lots and lots of pictures of the many birds that frequent my dad's feeders :)